AD Cartoonist Brushes
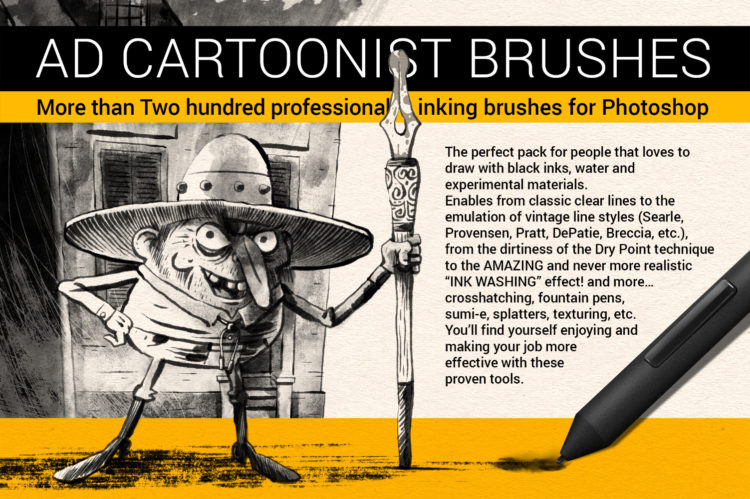
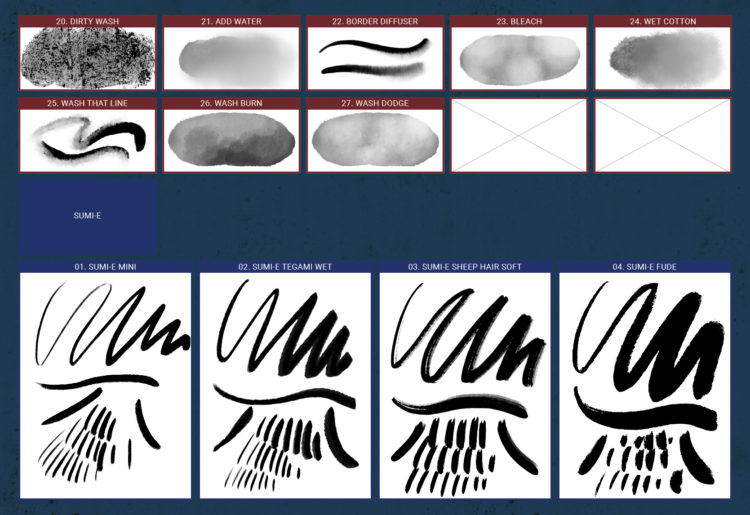
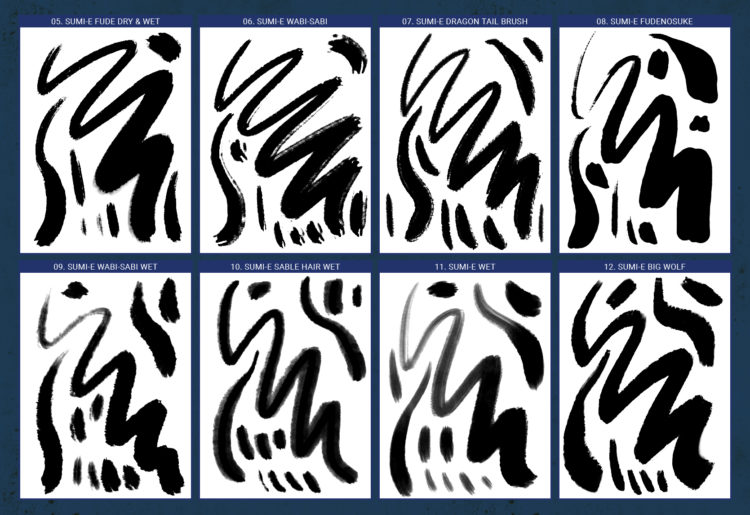
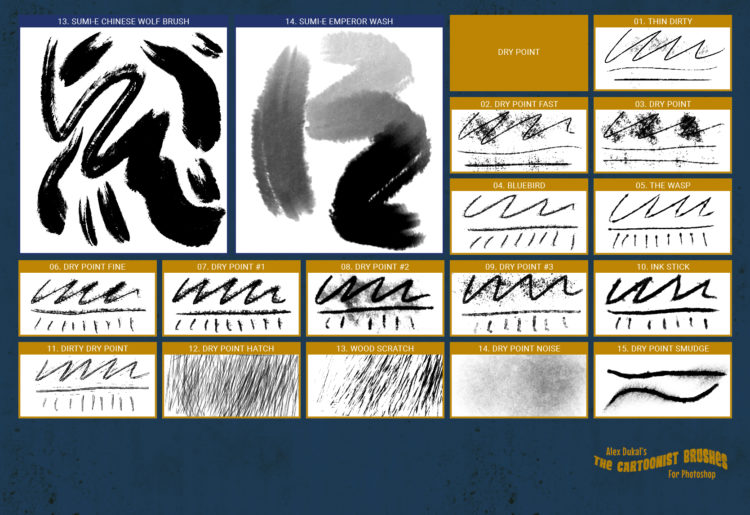
More than Two hundred professional brushes & tools for graphic artists, cartoonists, animators and everyone that loves to draw with black inks, water and experimental materials.
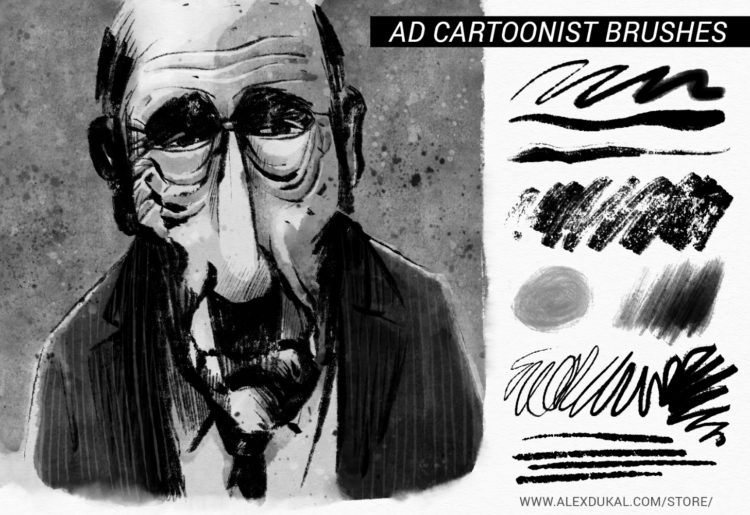
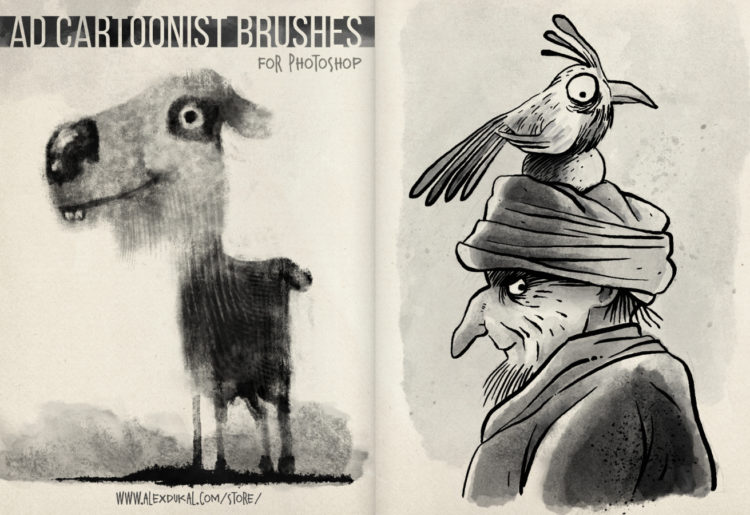
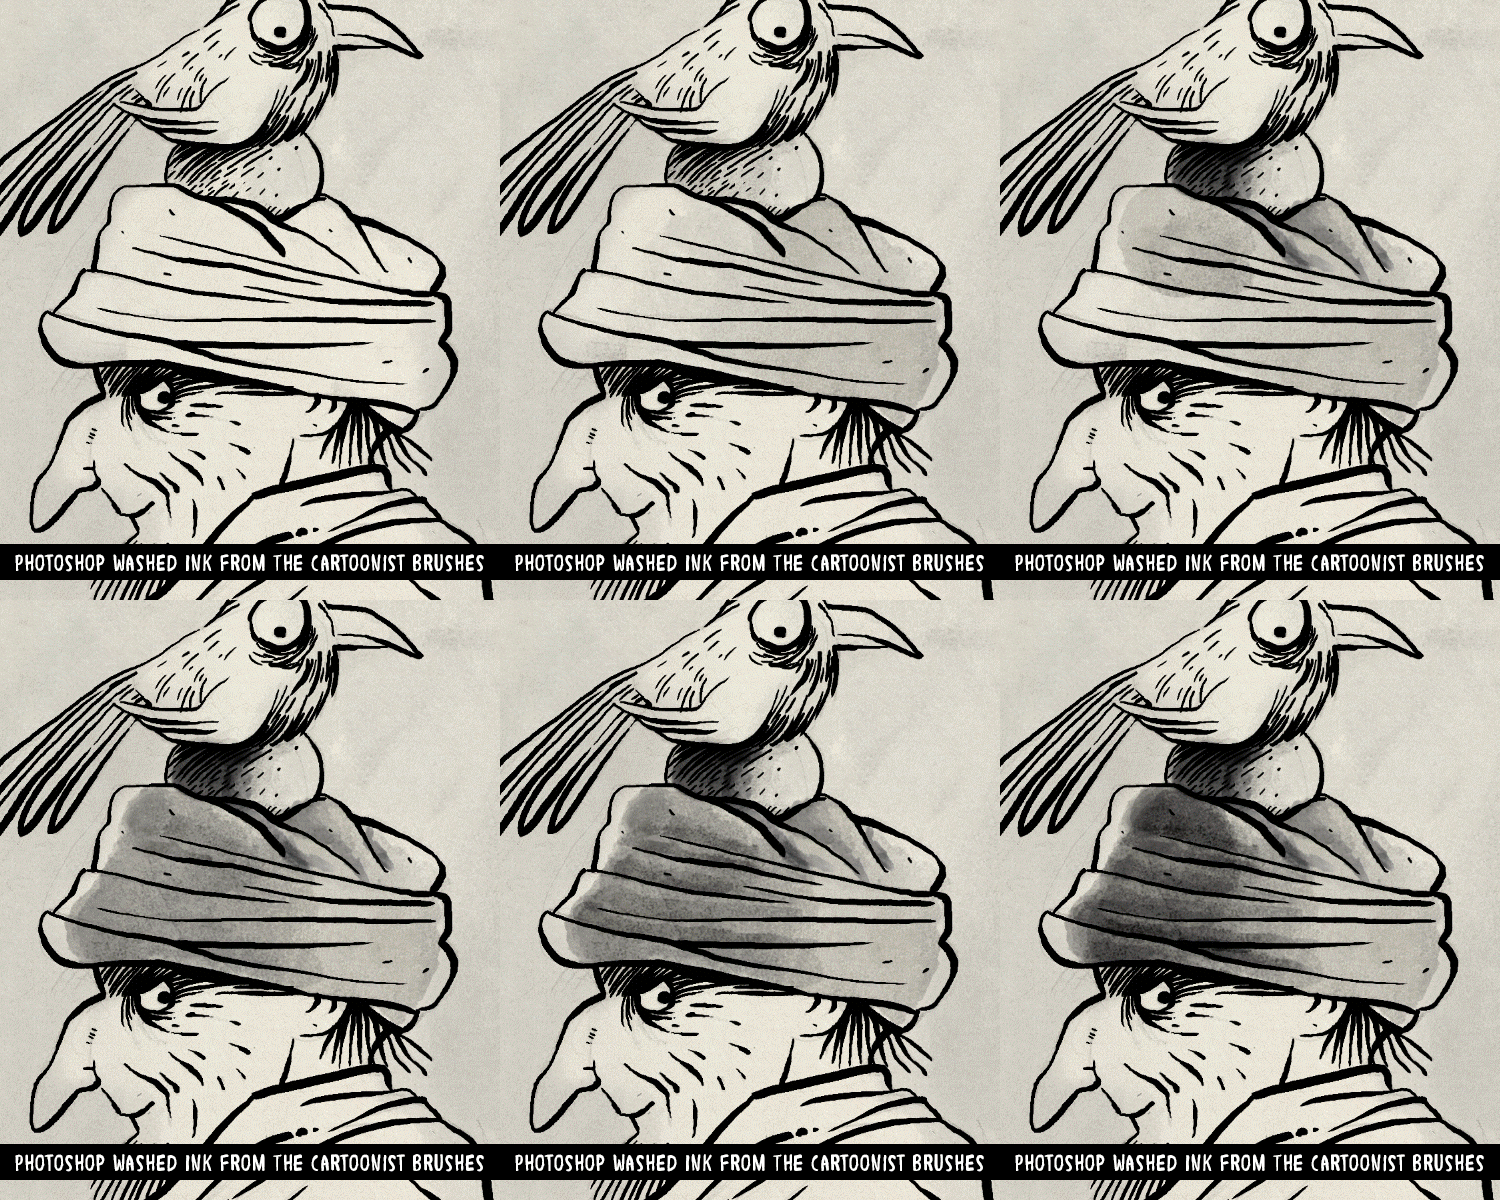
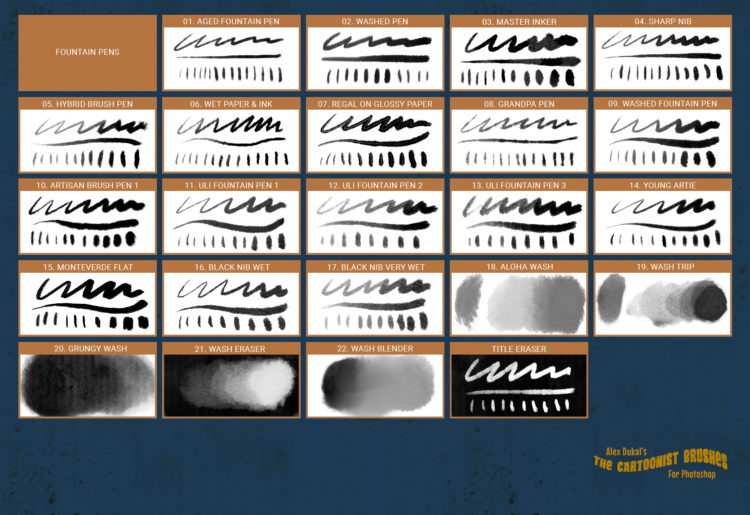
The cartoonist brushes includes from classic clear lines to the emulation of vintage line styles (Searle, Provensen, Pratt, DePatie, Breccia, etc.), from the dirtiness of the Dry Point technique to the AMAZING and never more realistic “INK WASHING” effect! and more… crosshatching, fountain pens, sumi-e, splatters, texturing, etc.
You’ll find yourself enjoying and making your job more effective with these proven tools.
With the purchase of this pack you will receive all future updates to this set for FREE.
This pack of brushes was created with the idea of emulating some styles used primarily in black and white comic strips, using black ink and washes, over the years I’ve added a lot of extra brushes that complement the pack very well.
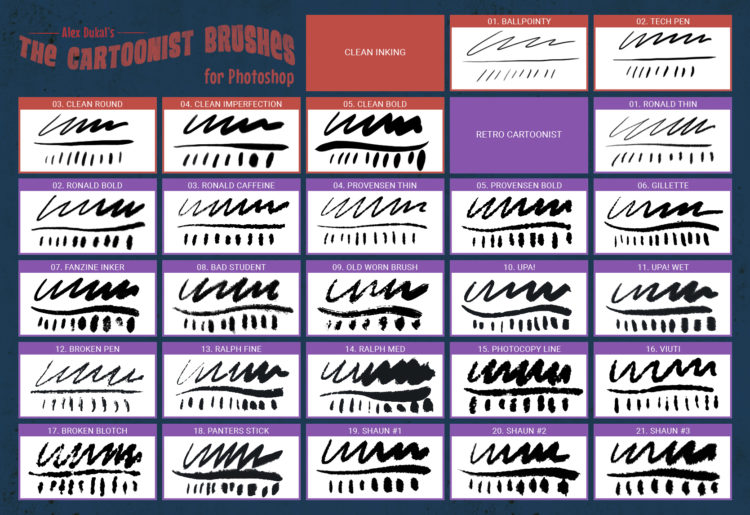
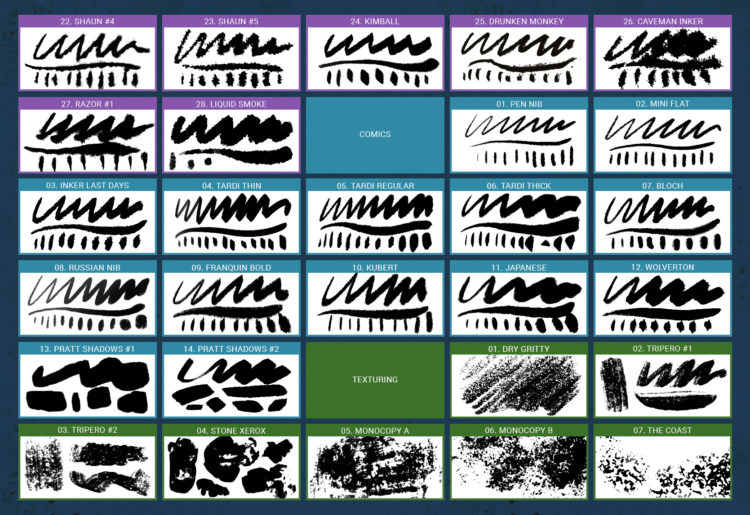
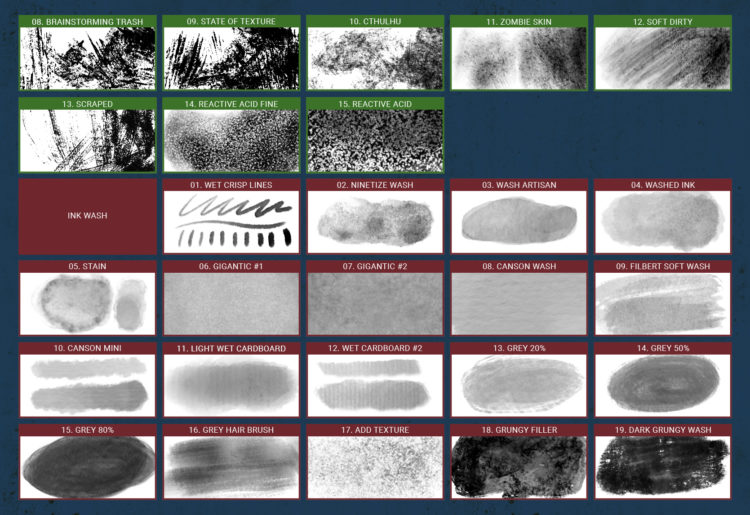
Please, take 10 minutes and watch the video below which includes a live preview of each brush stroke included in version 1.3 or if you prefer open the reference sheet for v1.5 (PDF 11 Mb.).
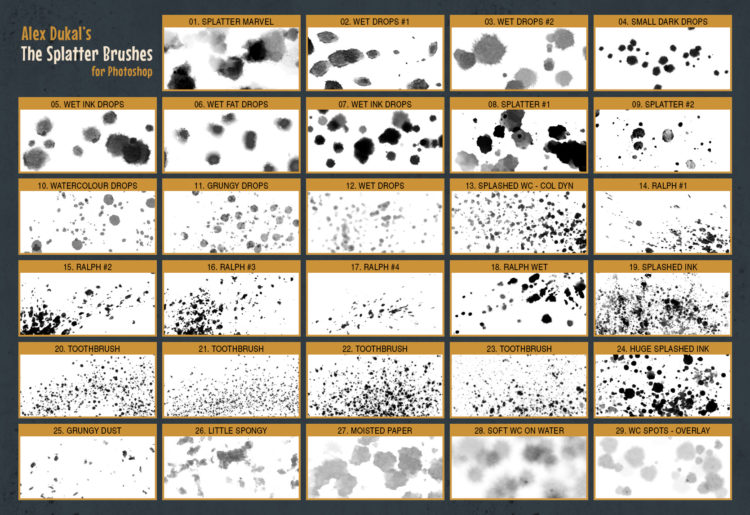
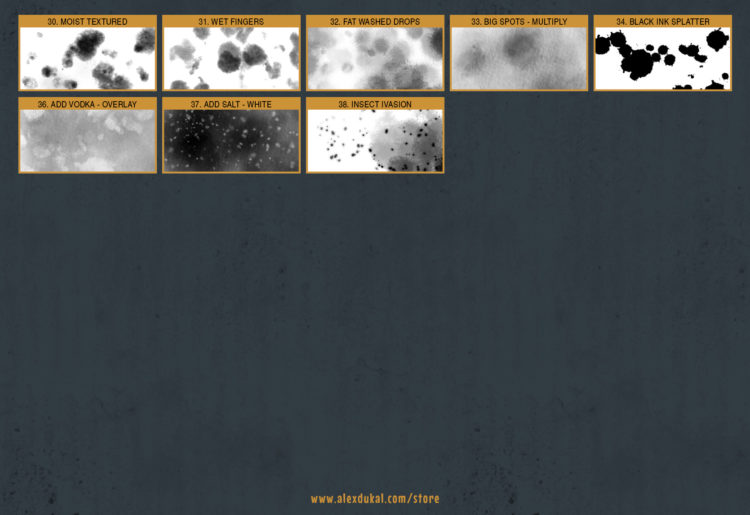
The Splatter Brushes (included):
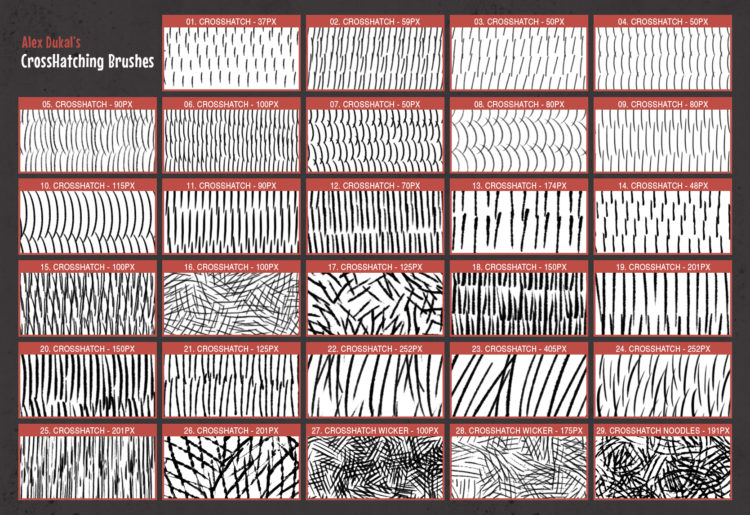
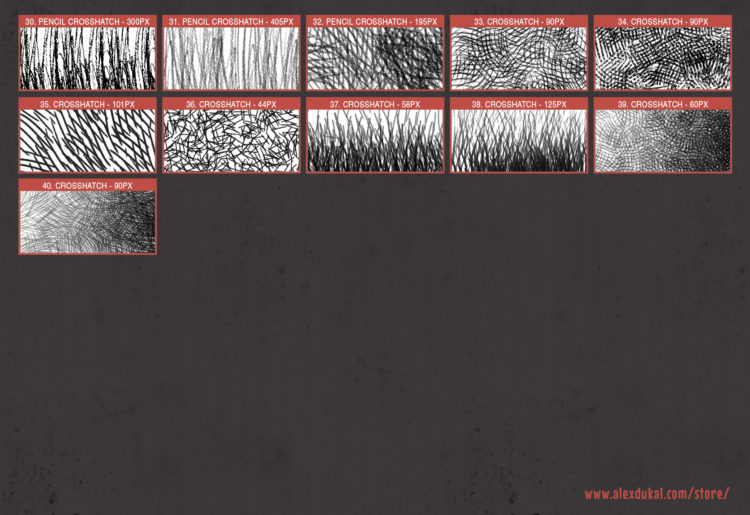
The Cross Hatching Brushes (included):
UPDATED TO V1.5 – April, 2018
Photoshop CC2018 (version 19.0) introduced an easier brush management and enhanced brush options so… it’s time to provide my tools also as ABR files!
Before loading the AD brush sets I recommend to create a folder inside the Brushes Window (Photoshop > Window > Brushes) and place all my sets as sub-folders inside that ‘main’ folder.
Then you could ‘import’ the brush sets and drag & drop brushes and folders as never before.
Could we use the new ABR brushes in earlier versions of Photoshop?
Yes, at least in CS6, but remember that in those versions there are settings which are not saved with the brushes (Flow, Opacity, Color, etc.) so it’s still recommended to use my Tool Presets instead.
Brush Stroke Smoothing
There is a new feature in PhotoShop CC 2018 that enables Smoothing (or Line stabilization) for the brush strokes and it’s enabled by default with a 10%,
for my brush tools I prefer a 0% by default or in some cases I decided to turn it off completely.
You could change that Smoothing percentage easily using the new PhotoShop keyboard shortcut: ALT + Numeric Keys (Eg.: ALT + 1 = 10%, ALT + 6 = 60%)
You can also turn off the magenta line that guides the stroke.
Go to PS > Edit > Preferences > Cursors
and uncheck ‘Show Brush Leash While Smoothing’
Here is a preview of the ‘Fountain Pen’ brushes in action:
Here is an old video tutorial that could still help with the Tool Presets:
My old ‘Cross Hatching’ brushes have been separated and expanded to a full set of 40 cross hatching brushes, this are special brushes to shade drawings, to enhance the details or to add value. I love this technique so… expect improvements.
My ‘Splatter brushes’ were split, a few in a pack and another bunch in another pack. To avoid the repetition of brushes and to make easier the future upgrades I’ve gathered all in this set, which includes some new impressive splatters.
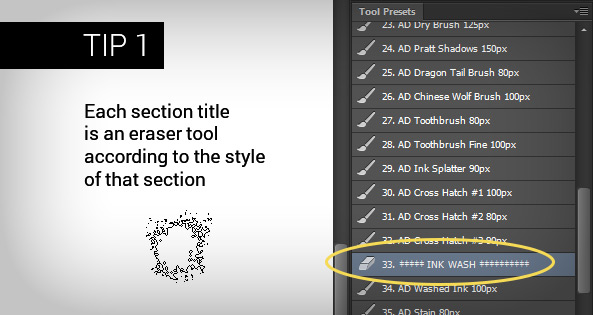
An important TIP for my photoshop tool presets:
Requirements
Most of this brushes & presets were created in Photoshop Creative Cloud using a Wacom Intuos 4 Tablet.
Tested also in Photoshop CS6 with a Wacom Graphire 4 and a Cintiq Companion Hybrid.
RECOMMENDED SETUP: Photoshop Creative Cloud plus a Wacom tablet.
MINIMUM REQUIREMENTS: Photoshop CS5.5 + Wacom tablet, but… with this setup do not expect to use the brushes in the exactly same way I created them. Photoshop CS6 is fine for this brushes.
Take note that the Wacom Graphire and Bamboo models has less pressure levels and the absence of some options (Eg.: there’s no TILT option for brushes).
What the purchase includes?
- AD Cartoonist Brushes v1.5.abr (130 Mb. aprox) The main file with more than 100 Brushes.
- AD_Cartoonist-Brushes_v1.5.tpl (130 Mb. aprox) The main file with more than 100 Tool Presets.
- 02_AD-Ninetize-Wash_20px.tpl (1 Mb.) This brush works only in newer Photoshop versions.
- AD Cross Hatching.abr (11,4 Mb.) The 40 Cross Hatching Brushes.
- AD_Cross-Hatching.tpl (12,2 Mb.) The 40 Cross Hatching Tool Presets.
- AD Splatters.abr (29,2 Mb.) The 38 Splatter Brushes.
- AD_Splatters.tpl (36,7 Mb.) The 38 Splatter Tool Presets.
- A TXT file with the License of use for a Single User (Please, read it!)
- All the Reference Sheets (PDFs)
Importante: Los clientes en Argentina tienen la opción de realizar sus pagos en efectivo, utilizando Rapipago y/o Pago Fácil, luego de optar por Mercado Pago como método de pago. Verán el costo del producto en pesos (cambio oficial del día) antes de concretar la operación en Mercado Pago.
